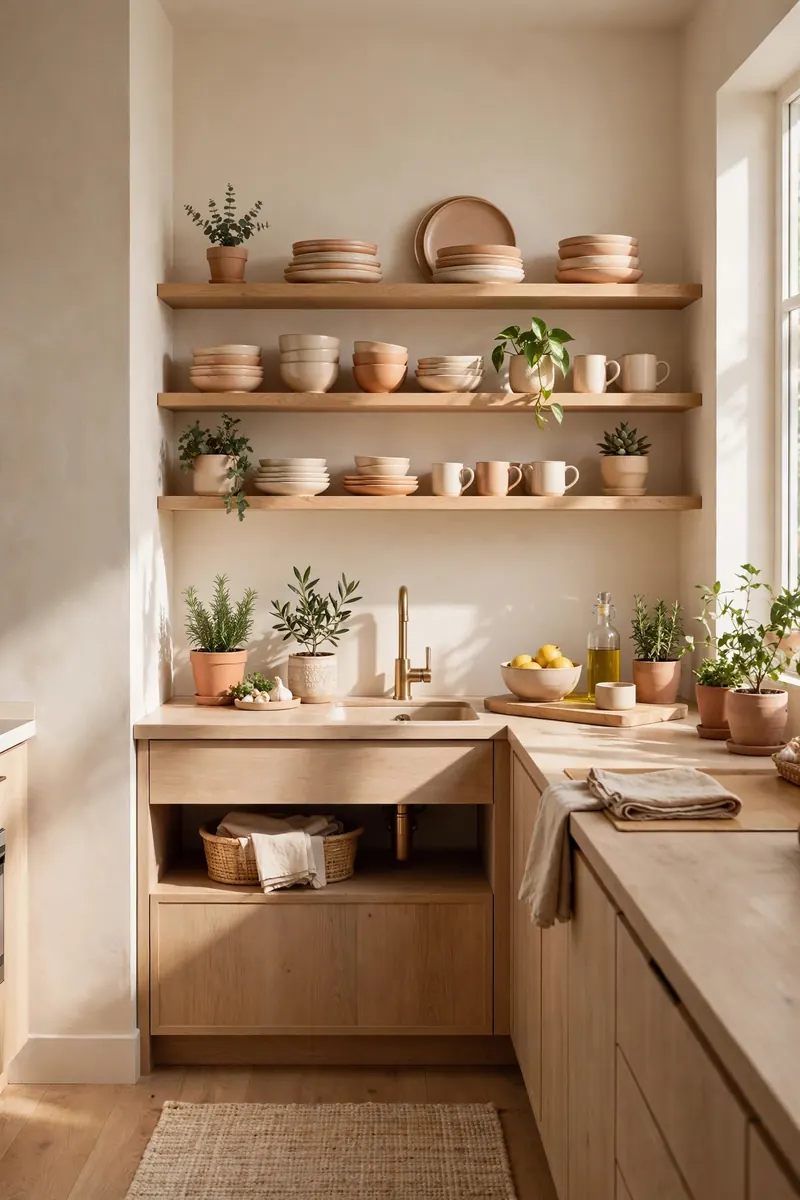
<!-- PINTEREST HERO IMAGE: Vertical 1000x1500 cozy kitchen corner coffee station on a small wooden cart, espresso machine with steam, stacked ceramic mugs on hooks, glass canisters, warm golden morning light through a window, bold text overlay "14 Small-Kitchen Coffee Stations" -->
A coffee station is about subtraction, not square footage
A full coffee station needs surprisingly little: roughly 24 inches wide and 16 inches deep — about the footprint of a large cutting board. That's it. The machine, the mugs, the beans, and the fixings all fit if you stop thinking "coffee bar" as furniture and start thinking of it as a zone. In a small kitchen, the station works precisely because it consolidates the morning chaos into one contained spot instead of letting mugs, filters, and sugar packets colonize three different counters.
The trick is matching the format to your kitchen's reality. A rolling cart suits renters who can't drill. A cabinet nook suits people with one awkward empty shelf. A tiered tray suits the truly counter-starved. Every idea below is built for small kitchens — no dedicated rooms, no built-in cabinetry required.
> *Affiliate disclosure: Roomora is reader-supported. When you buy through links on this page, we may earn an affiliate commission at no extra cost to you.*
Pick your footprint first
1. Claim a 24-by-16-inch zone and defend it
Before buying or building anything, tape out a rectangle 24 inches wide and 16 inches deep on your counter, and live with the outline for two days. This is your station's maximum footprint. If the tape feels cramped, your station needs to go vertical or mobile rather than wider — widening the zone is how coffee stations eat kitchens.
Place the tape near (not on) your main prep area. Coffee traffic at 6 a.m. shouldn't block whoever's making breakfast. The corner of the counter farthest from the stove is usually the sweet spot: close enough to the sink for water, far enough from cooking splatter to stay clean.
2. Use the dead corner
Most kitchens have one corner where the counter meets the wall at an awkward angle — too deep to reach comfortably, too dark to prep in. That's your coffee station. A corner placement uses space that was already wasted, keeps the machine out of the main workflow, and the walls on two sides make the station feel intentionally tucked in rather than cramped.
Rotate the machine at a slight angle so the water tank and controls face out; corner machines pushed flat against the wall become a daily wrestling match. A small lazy Susan under the machine (12 to 14 inches across) lets you spin it for refills without dragging it across the counter.
Compact formats that fit small kitchens
3. Build the station on a rolling cart
A three-tier rolling cart (roughly 18 by 24 inches) is the renter's coffee station: no drilling, no permanent footprint, and it rolls out of the way when you need the floor space. Top tier holds the machine, middle tier holds mugs and canisters, bottom tier holds backup beans, filters, and cleaning supplies.
The honest trade-offs: carts wobble, so choose one with locking casters and a sturdy frame — a top-heavy cart with a full water reservoir is a spill waiting to happen. And the cart needs a parking spot with an outlet within cord's reach. Measure your cord: most coffee makers ship with a 24-to-36-inch cord, which limits where the cart can live. For more on making carts earn their keep, see our space-saving furniture ideas for small apartments.
4. Convert one cabinet into a coffee nook
If you have a single underused cabinet — the one above the counter that holds three random mugs and a blender manual — empty it and turn the counter below into the station. The cabinet becomes dedicated coffee storage: mugs on the shelf, beans and filters in bins, the machine on the counter underneath. Doors close, clutter disappears, and the station looks built-in.
This works best with a cabinet near an outlet and the sink. Add a small battery-powered puck light inside the cabinet (no wiring needed) and suddenly the nook feels designed rather than improvised. If your cabinets need the full rethink first, our kitchen cabinet organization ideas help you find the spare shelf.
5. Use a tiered tray for the truly counter-starved
When you can't spare 24 inches of counter, go vertical in miniature: a two- or three-tier tray (about 10 to 12 inches in diameter) holds the sugar, creamer, stirrers, and a small plant on almost no footprint. The coffee maker sits beside it — or if even that's too much, the tray holds a pour-over setup and the kettle lives on the stove.
The tiered tray is a containment device as much as a display: everything coffee-related that isn't the machine lives on the tray, which means nothing migrates across the counter. One tray, one rule — if it doesn't fit on the tray, it doesn't belong in the station. This pairs naturally with the zone logic in our small kitchen organization ideas.
6. Try a wall-mounted fold-down shelf
For kitchens where the counter is genuinely full, a fold-down wall shelf (about 20 by 14 inches) creates a station that disappears. Fold it down in the morning for the machine and supplies; fold it up after, and the wall is clear. Mount it at standard counter height — 36 inches — near an outlet, with brackets rated for at least 50 pounds to handle the machine plus a full water tank.
This is a drill-into-studs project, so renters should check the lease or use the cart option instead. But for owned small kitchens, it's the highest space-efficiency option on this list: a full station with zero permanent footprint. Our weekend DIY projects for beginners rates this as a satisfying Saturday build.
Organize the supplies
7. Store mugs on hooks, not in stacks
Mugs are the silent station-killers. A stack of six mugs eats a full shelf and chips the rims; four mugs on under-cabinet hooks use dead airspace and stay grab-ready. Keep only the mugs you actually use at the station — two per coffee drinker plus one guest mug is plenty. The novelty mugs and the chipped favorites live elsewhere or leave the house.
Under-cabinet hooks need about 4 inches of clearance below the cabinet — measure your tallest mug before installing. If hooks aren't an option, a small mug tree on the cart's top tier works, but it eats the footprint hooks would have saved.
8. Decant beans, sugar, and tea into matching canisters
The fastest way to make a small station look intentional: move supplies out of their packaging into two or three matching canisters. A canister for beans, one for sugar, one for tea bags — uniform, labeled, and sized to the station. Bags and boxes with torn tops are what make coffee corners look cluttered even when they're technically organized.
Choose canisters with airtight seals for beans (stale beans are the real cost of pretty storage) and keep the quantities small — decant a week's worth, not a month's. Bulk bags stay sealed in the pantry; the station holds only the working supply.
9. Corral the small stuff in one caddy
Stirrers, sweetener packets, filters, measuring scoops — the small items scatter fastest. One small caddy or divided organizer (roughly 8 by 10 inches) holds all of them in the station's footprint. When it's time to wipe the counter, you lift one caddy instead of chasing fifteen items.
Keep the filter situation honest: if you use paper filters daily, a dedicated holder or a small stack in the caddy works; if you use a reusable filter, skip the paper entirely. Every item in the caddy should be something you touch weekly, minimum.
10. Give tea drinkers their own tier
In a mixed household, tea supplies quietly double the station's inventory — boxes of tea, the kettle, honey, the infuser. Give tea its own defined spot: one tier of the cart, one canister plus the kettle, or a small lidded box on the tray. Without a boundary, tea sprawls across the whole station and the coffee drinker starts resenting it.
A lidded box or small basket labeled for tea keeps the peace and the footprint. The kettle is the one shared item; everything else stays in its lane.
Small-kitchen logistics: water, power, and cleanup
11. Solve water before you fall in love with a spot
Every coffee station needs water access, and in a small kitchen the sink might be steps away. If your station sits more than a few feet from the sink, you'll be carrying a dripping reservoir across the kitchen twice a day — which gets old in a week. Prioritize station spots within easy reach of the sink over spots that merely look good.
For espresso machines with plumbed options, skip the plumbing in a rental — the installation cost and lease risk aren't worth it for most small kitchens. A machine with a front-access water tank you can fill with a pitcher is the practical pick; top-fill tanks under low cabinets are a daily annoyance, so check tank access against your cabinet height before buying.
12. Plan power like it's part of the design
Coffee makers draw serious wattage — typically 800 to 1,500 watts — which means they shouldn't share a circuit with the toaster or microwave if you can avoid it. In a small kitchen, that often means the station lives on the counter run with its own outlet, not the appliance-heavy side.
Run the cord cleanly: a short cord channel or adhesive clips along the backsplash keep it from draping across the counter, and a slim power strip tucked behind the machine handles the grinder plus the machine on one plug. Unplug the grinder between uses if the cord sprawls — two seconds to plug in beats permanent visual noise.
13. Build cleanup into the station
A coffee station without a cleanup plan becomes a ring-stained counter within a month. Keep a small absorbent mat or tray under the machine — it catches drips, wipes clean, and defines the station's boundary. Empty the drip tray and knock out the grounds daily; stale grounds are the number-one source of coffee-station smell.
Store a dedicated cloth or a few reusable wipes in the caddy so wiping the station takes ten seconds instead of a trip across the kitchen. The stations that stay beautiful are the ones where cleanup is easier than ignoring the mess.
What not to do: coffee station mistakes
Don't build the station around a machine you haven't chosen — pick the brewer first, then size everything to it. Don't put the station on the main prep counter; morning coffee traffic and dinner prep will collide daily. Don't stock a month of supplies at the station — it becomes a pantry annex instead of a beverage zone, and small kitchens can't afford the confusion.
Don't ignore the outlet situation until setup day; an extension cord across the kitchen is both ugly and a trip hazard. And don't buy the adorable oversized mug tree, the decorative chalkboard sign, and the three extra canisters before the station works — function first, styling second. A station that makes good coffee in a small footprint earns its decorations; a styled station that drips on the counter does not.
Frequently asked questions
How much space do I need for a coffee station in a small kitchen?
About 24 inches wide by 16 inches deep handles a machine, mugs, and supplies for most setups. If you can't spare that, go vertical with a tiered tray, mobile with a rolling cart, or fold-away with a wall-mounted shelf. The station format should match the space you actually have, not the space you wish you had.
Where should I put a coffee station in a tiny kitchen?
Prioritize three things in order: proximity to the sink (for water), proximity to an outlet on its own circuit (for power), and staying out of the main prep workflow. The dead corner farthest from the stove usually wins on all three. Avoid the main prep counter — coffee traffic and cooking traffic collide there every morning.
Can I have a coffee station without counter space?
Yes — that's exactly what the rolling cart and fold-down shelf options solve. A three-tier cart parks in a corner or against a wall and rolls out when needed; a fold-down shelf mounts to the wall and disappears after use. Even a tiered tray on a sliver of counter beside the sink counts as a station if it consolidates everything in one spot.
How do I keep a coffee station from looking cluttered?
Three rules: decant supplies into matching canisters, corral all small items in one caddy, and stock only a week's worth of supplies at the station. Matching containers and strict boundaries do 90% of the visual work. Close the cabinet doors, wipe the mat daily, and the station reads as styled rather than scattered.
What's the best coffee maker for a small kitchen coffee station?
Choose based on your actual habit, not aspiration: a compact drip machine or single-serve brewer for straightforward daily coffee, a small espresso machine only if you'll genuinely use it weekly. Measure the machine's height against your upper cabinets and check whether the water tank fills from the front — top-fill tanks under low cabinets are a daily frustration. Smaller footprint beats more features in a tight station.
Should the coffee station go in the dining room instead?
It can work if the dining area has an outlet and you're willing to carry water — a cart-based station in a small dining room keeps the kitchen counters completely free. The trade-off is the water run: every brew means a trip to the kitchen sink. For most people, a kitchen-corner station with nearby water beats a prettier dining-room setup within two weeks.
Keep going
A coffee station is one corner of a calmer kitchen. Keep the rest of the counters clear with our kitchen counter organization ideas, and extend the storage logic into the pantry for backup supplies. If the station shares space with a desk or dining nook, our small dining room ideas help the zones coexist.
Get the Sunday reset: one practical home idea in your inbox every week — subscribe free here. No spam, ever.
Pin title ideas
- 14 Coffee Station Ideas for Small Kitchens (No Counter? No Problem)
- Small Kitchen Coffee Bar: 14 Setups That Actually Fit
- The 24-Inch Coffee Station: Big Flavor, Tiny Footprint
- Coffee Station Ideas: Carts, Nooks & Trays for Small Kitchens
- Build a Coffee Station With Zero Counter Space