<!-- PINTEREST HERO IMAGE: Vertical 1000x1500 bright modern kitchen with gleaming clear white countertops, a styled wooden tray corral with olive oil bottles and a utensil crock near the stove, warm morning window light, bold text overlay "16 Counter Organization Ideas" -->
Your counters are workspace, not storage
The average kitchen has about 25 to 30 square feet of countertop, and most of it is occupied by things that don't get used daily. Here's the uncomfortable truth behind every cluttered counter: a countertop's real job is to be empty. Empty counters make cooking faster, cleaning easier, and the whole kitchen feel bigger — it's the single highest-impact visual change you can make without buying anything.
Counter organization isn't a buying project; it's an editing project. Everything below starts with removing before adding, then uses a few deliberate containers to keep the keepers contained. The goal isn't a showroom kitchen where you can't find the salt. It's a working kitchen where every item on the counter earns its place daily.
> *Affiliate disclosure: Roomora is reader-supported. When you buy through links on this page, we may earn an affiliate commission at no extra cost to you.*
Audit first: the 7-day test
1. Only daily-use items earn counter real estate
Move everything off the counters — yes, everything — and put back only what you use at least once a day. For most households that's a short list: the coffee maker, a knife block or magnetic strip, a cutting board, dish soap, and maybe the toaster. Everything else goes into cabinets or the pantry.
Be ruthless and honest about "daily." The stand mixer you use twice a month is not daily. The bread machine from three years ago is decoration. Once the counter is down to the true dailies, you'll be shocked at how much open space appears — and open space is what you're protecting. If your cabinets are bursting too, the logic in our kitchen cabinet organization guide helps you make room for the things you're moving off the counters.
2. Run the 7-day sticky-note test
For anything you're unsure about, put a dated sticky note on it. If you haven't touched the item in seven days, it moves to a cabinet, the pantry, or out of the kitchen entirely. This works because clutter accumulates from "I might need this" decisions; the test converts those decisions into evidence.
Do this once and you'll clear a third of your counter items. Do it seasonally and the clutter never rebuilds. Pair it with a broader room-by-room declutter routine when the whole kitchen needs the same honest treatment.
Zone the counter like a workbench
3. Create a cooking zone beside the stove
Cluster the true cooking tools — olive oil, salt, pepper, a utensil crock — within arm's reach of the stove, ideally inside a 24-inch zone to one side. This is the one zone where counter items genuinely save time, because you're reaching for them mid-cook with a hot pan in the other hand.
Keep this zone tight: oil, salt, pepper, and the five utensils you actually use (spatula, wooden spoon, tongs, whisk, ladle). The other twelve utensils live in a drawer. A crowded cooking zone defeats the purpose — you're going for a cockpit, not a display shelf.
4. Create a prep zone with permanent landing space
Reserve one clear stretch of counter — at least 18 to 24 inches — as sacred prep space, and defend it. This is where the cutting board lives during cooking. Everything else gets pushed elsewhere. If your kitchen is small, this might be the only open counter you have, which makes defending it more important, not less.
A large cutting board that fits over the sink can double your prep area in tiny kitchens. It lives in a cabinet or against the backsplash when not in use and bridges the sink for extra chopping room during cooking. Our small kitchen organization ideas cover more of these space-doubling tricks.
5. Create a landing zone near the door, not on the counter
Keys, mail, and the day's random cargo need a home — but that home should not be your prep counter. Give them a small tray or wall-mounted organizer near the kitchen entrance instead. The moment mail lands on a counter, it becomes permanent counter decor.
If the kitchen is the house's main entrance path, borrow the logic from our entryway organization ideas and build a proper drop zone just outside the kitchen: hooks for keys, a tray for mail, a bin for the stuff that migrates inward. Counter space saved: roughly two square feet, every single day.
Corral with trays, caddies, and risers
6. Corral loose items on trays
A tray turns five scattered items into one visual unit. The olive oil, salt, pepper, and paper towels that looked like clutter now read as a deliberate arrangement. This is the cheapest, highest-impact counter trick there is: pick a tray that fits the zone (roughly 12 by 18 inches for a cooking cluster), group related items on it, and everything inside the tray is "organized" by definition.
Choose trays with a lip so bottles don't slide off, and wipeable surfaces — wood looks warm but needs coasters under oily bottles; stone or metal trays wipe clean in seconds. One tray per zone, maximum. Trays multiplying across the counter is just clutter with better PR.
7. Use a utensil caddy — one, not three
One utensil crock near the stove holds the daily tools. If you own three crocks, consolidate: keep the best-looking one on the counter and relocate the rest. Overstuffed crocks are their own clutter — if you have to dig past six spatulas to find the tongs, you have too many spatulas.
A crock with drainage holes or a removable bottom is worth prioritizing if you wash utensils by hand; standing water in a solid crock gets unpleasant fast. Size it to your actual tool count — a half-empty giant crock looks worse than a full small one.
8. Add a riser shelf for the dead zone
The counter against the backsplash — that 6-to-8-inch strip behind everything — is mostly wasted space. A low riser shelf (about 4 to 6 inches tall) lifts small items like spices, the salt cellar, or a small plant into that zone, freeing the front of the counter for actual work.
Measure your upper cabinets first: a riser plus tall spice jars needs roughly 16 to 18 inches of clearance. If your cabinets hang low, skip the riser and mount a magnetic spice strip on the wall or inside a cabinet door instead. The principle is the same — small items go vertical so the counter stays horizontal.
Tame the appliance crowd
9. Build or buy an appliance garage
The toaster, the coffee maker, the stand mixer — appliances are the biggest counter hogs because they're bulky and heavy. An appliance garage (a cabinet with a roll-up, flip-up, or tambour door that sits on the counter) hides them in plain sight: closed during the day for a clean look, open during use with everything plugged in and ready.
If you're buying, measure your tallest appliance plus two inches — a garage that doesn't fit the stand mixer with the bowl attached is a wasted purchase. If you're handy, a simple open-front box shelf with a curtain or bifold doors does the same job for a weekend project; our weekend DIY projects for beginners has builds at this exact difficulty level.
10. Apply the daily-or-cabinet test to every appliance
Each appliance gets one question: do I use this daily? The coffee maker and toaster usually survive. The air fryer, blender, and food processor — honest answers here — usually go in a cabinet, the pantry, or on a rolling cart. Heavy, rarely-used appliances are the number-one reason counters feel cramped.
Make the cabinet storage workable: store the air fryer on a low, easy-to-reach shelf so "in the cabinet" doesn't mean "never used." Appliances you can't reach easily become appliances you stop using, which is worse than having them on the counter. If cabinet space is tight, extend the system into your pantry organization for bulky items.
11. Manage cords or they'll manage the counter
Every plugged-in appliance adds a cord, and cords are visual noise that makes counters feel messy even when they're technically organized. A few fixes: plug daily appliances into a slim power strip tucked behind the appliance garage or against the backsplash, wrap excess cord length with reusable ties, and face appliance backs toward the wall so cords run straight back instead of sprawling.
For appliances you use weekly rather than daily, consider unplugging between uses — the two seconds to plug in beats the 24/7 cord sprawl. This is a small detail with an outsized effect on how tidy the counter photographs and feels.
Go vertical: walls and backsplash
12. Mount a magnetic knife strip
A knife block eats roughly 8 by 10 inches of counter and dulls blades every time you slide them in and out. A magnetic strip on the wall or backsplash holds the same knives in zero counter space, keeps blades sharper, and looks deliberately styled. Mount it at a comfortable reach height — about 16 to 20 inches above the counter — and keep it away from where kids grab.
Use a strip with strong, evenly spaced magnets; cheap strips let knives slide. And keep the strip near the prep zone — knives stored across the kitchen from where you chop will migrate back to the counter within a week.
13. Hang a rail system for daily tools
A simple wall rail with S-hooks beside the stove holds measuring cups, the whisk, oven mitts, and the small tools that otherwise colonize the counter. It uses the backsplash zone that was dead space anyway. One 24-inch rail holds a surprising amount — roughly six to eight tools — and everything is visible and grabbable.
The trade-off is dust and grease: tools near the stove collect a film over time. If you're a daily cook, you'll wash them before the film matters; if you cook twice a week, keep tools in a drawer and hang only the decorative items. Be honest about your cooking frequency.
Systems that keep counters clear
14. Run a 10-minute nightly reset
Systems beat willpower. Every night, spend ten minutes returning the counter to its morning state: appliances back in the garage, dishes in the dishwasher or drying rack cleared, mail moved to the landing zone, the prep stretch wiped down. Ten minutes nightly prevents the weekend-long kitchen rescue.
This reset works best as part of a household routine rather than a solo kitchen chore — our weekly cleaning schedule shows how to distribute the load so the nightly reset actually happens instead of living on a to-do list.
15. Keep cleaning supplies under the sink, not on the counter
The spray bottle, the sponge, the dish soap army — these migrate to the counter and stay there. A small caddy under the sink holds all of it; you pull the whole caddy out when cleaning and put it back when done. The counter stays clear, and you're not knocking over a spray bottle every time you chop an onion.
If your under-sink zone is chaos, fix that first — our under-sink organization guide walks through the exact setup, including how to handle the pipes that eat half the space.
16. Give the fruit bowl a job description
The fruit bowl is the classic "decorative clutter" item. Keep it only if it holds fruit you actually eat — and keep it small. A giant bowl of decorative lemons is just counter clutter wearing a costume. If counter space is precious, move fruit to the fridge or a hanging basket and reclaim the square footage.
Better yet, let the bowl be the one permitted decorative item on the counter. One beautiful bowl of real fruit reads as styled; one beautiful bowl plus a candle plus a plant plus a cookbook stand reads as clutter again. Pick one.
What not to do: counter mistakes
A few honest warnings from kitchens that have been there. Don't buy organizers before decluttering — containers for clutter you should have removed just make the clutter more expensive. Don't line the backsplash with decorative items "for now" — "for now" is how counters fill permanently. Don't keep the paper towel holder, the napkin holder, and the tissue box all on the counter; pick one paper product station and put the rest away.
Don't store anything above the stove except a range hood — heat and grease ruin spices, oils, and small appliances faster than you'd think. And don't aim for zero items on the counter as a moral goal. A kitchen with the coffee maker out and a tray of cooking oils by the stove is a working kitchen. The goal is intentional, not empty.
Frequently asked questions
How do I keep kitchen counters clear with a small kitchen?
Shrink the keep-list further: in a small kitchen, only two or three items earn counter space, and everything else must live in cabinets, on walls, or in the pantry. Use the sink-cover cutting board trick for extra prep room, mount knives and tools on the wall, and run the nightly reset without exception — small counters show clutter faster, so the system matters more. Our small kitchen organization ideas go deeper on tight-space strategies.
Where should small appliances go if not on the counter?
An appliance garage on the counter keeps daily appliances accessible but hidden; weekly-use appliances belong in a low cabinet or pantry shelf you can actually reach. The test is honest frequency: daily stays out (corralled), weekly gets a reachable cabinet home, monthly-or-less goes to a high shelf or the pantry. If you can't reach it easily, you won't use it.
What's the best way to organize cooking oils and spices near the stove?
One tray, one zone: olive oil, salt, pepper, and the spices you reach for mid-cook go on a single wipeable tray within arm's reach of the stove. Keep it to the true dailies — the full spice collection belongs in a cabinet or drawer. A riser shelf against the backsplash can hold the overflow vertically without eating prep space.
How do I stop mail and random items from landing on the counter?
Build a landing zone outside the kitchen flow — a tray or wall organizer near the entrance for keys and mail — and make it easier to use than the counter. The nightly reset moves anything that escaped. Most counter clutter is really an entryway problem wearing a kitchen disguise, which is why a proper drop zone fixes it permanently.
Are open shelves better than clear counters?
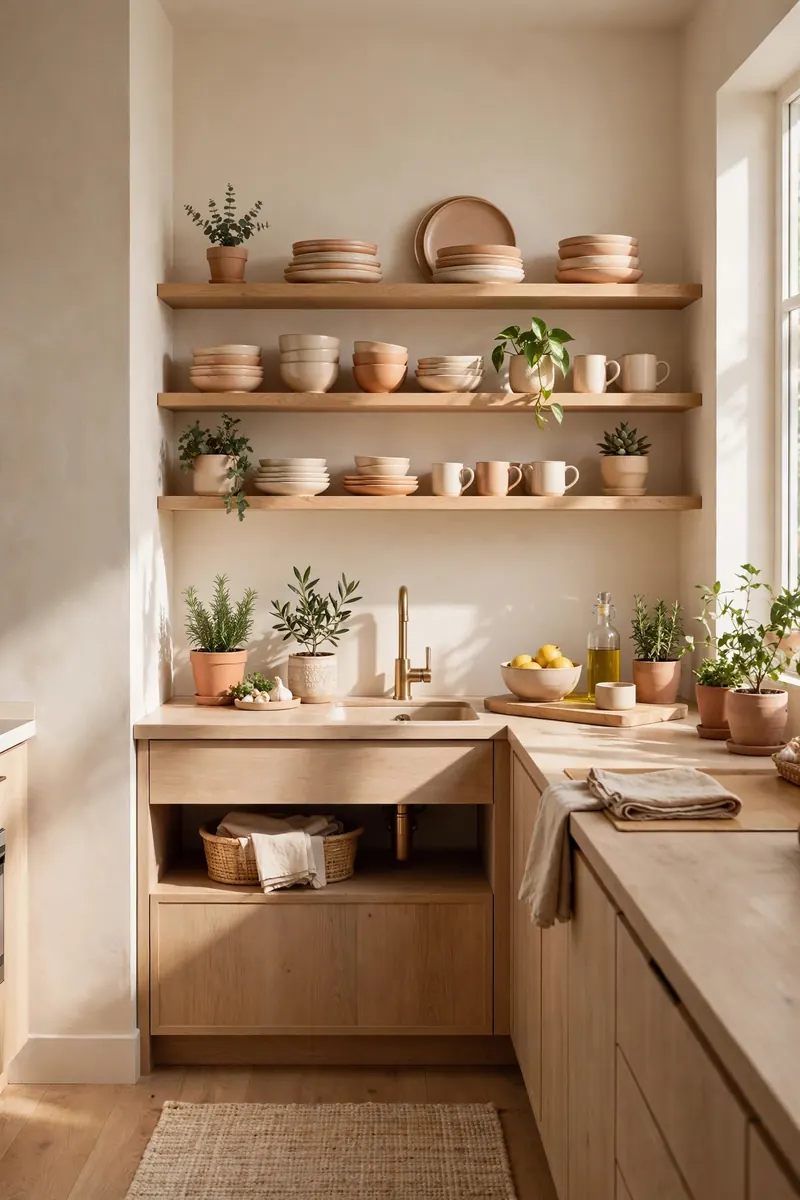
They solve different problems. Open shelves move display and daily dishes off the counter, which helps — but they demand constant styling and dusting, and they fill up just as fast as counters if you're not disciplined. Clear counters with closed storage are lower-maintenance. If you love the open-shelf look, keep one short shelf for the pretty dailies and keep everything else behind doors.
How often should I declutter the counters?
Run the 7-day sticky-note test seasonally — four times a year — and do the nightly 10-minute reset daily. The seasonal audit catches the slow creep (the gadget gifts, the "temporary" items that became permanent), while the nightly reset handles the daily churn. Together they keep counters clear without a big annual purge.
Keep going
Counter organization is one layer of a calm kitchen. Extend the system downward with kitchen cabinet organization ideas for the storage you're moving things into, and sideways with small kitchen organization ideas for layout tricks. When the whole house needs the same treatment, the room-by-room declutter guide keeps the momentum going.
Get the Sunday reset: one practical home idea in your inbox every week — subscribe free here. No spam, ever.
Pin title ideas
- 16 Kitchen Counter Organization Ideas That Keep Counters Clear
- The 7-Day Test That Clears Your Counters for Good
- Small Kitchen? These Counter Tricks Double Your Workspace
- Stop the Clutter: 16 Counter Organization Ideas That Work
- Clear Counters in 10 Minutes a Night (Here's How)