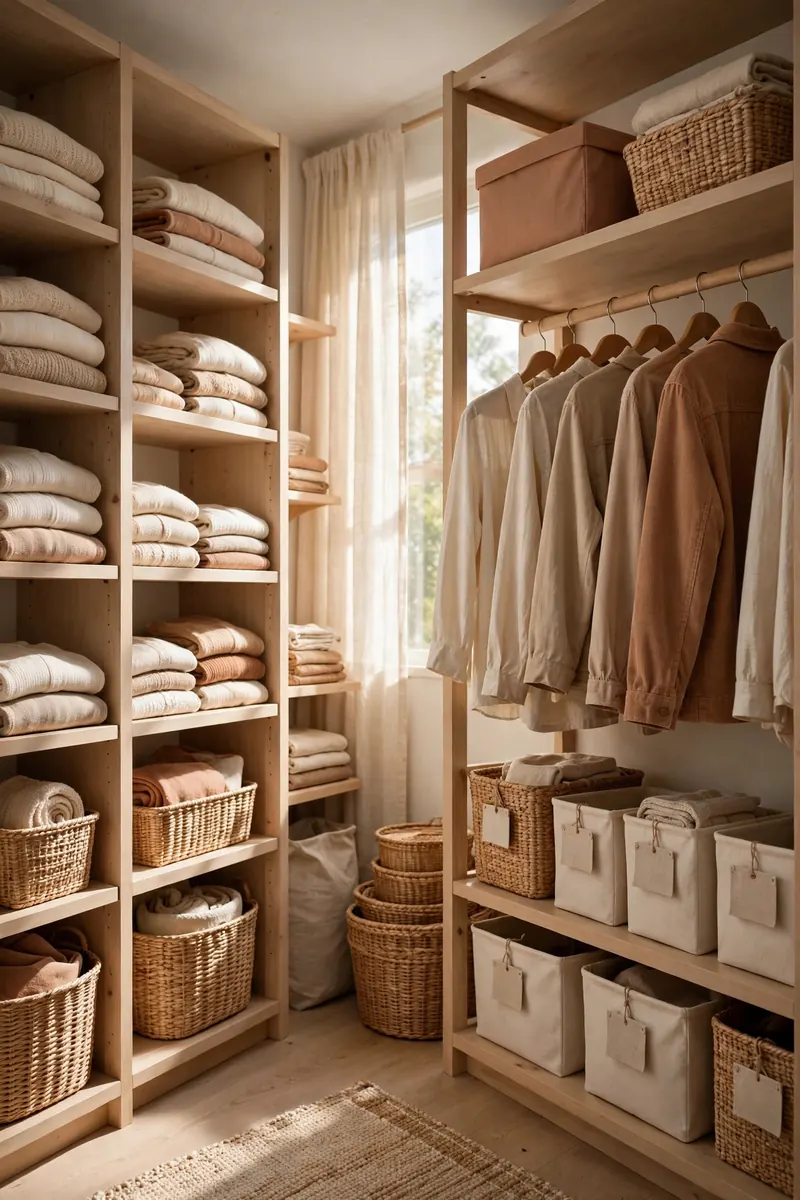
<!-- PINTEREST HERO IMAGE: Vertical 1000x1500 styled image of a bright organized craft room — white pegboards holding tools, clear drawer units with labels, a large work table with a cutting mat, colorful fabric bolts on a shelf; bold text overlay "CRAFT ROOM ORGANIZATION" -->
# Craft Room Organization Ideas for Creative Spaces
Craft rooms have a special kind of chaos. It's not mess from laziness — it's the residue of creativity: the half-finished quilt, seventeen shades of blue thread, paper scraps "too pretty to throw away," and beads that have achieved sentience and migrated into the carpet. Every crafter knows the paradox: you need your supplies visible and accessible to stay inspired, but visible and accessible quickly becomes overwhelming.
The solution isn't minimalism — it's systems designed for how creative work actually happens. These ideas organize by project flow rather than by category alone, keep works-in-progress safe without taking over the room, and make starting (and stopping) a project frictionless. Your craft room should invite you in, not guilt you from the doorway.
> *Affiliate disclosure: Roomora is reader-supported. When you buy through links on this page, we may earn an affiliate commission at no extra cost to you.*
1. Zone by craft type, not by container type
The biggest mistake in craft room organization is sorting by container: all the bins together, all the baskets together. Instead, zone by craft — a sewing zone, a paper-crafting zone, a painting zone — with each zone holding the tools, materials, and works-in-progress for that craft together. When you sit down to sew, everything you need is within arm's reach; you're not hiking across the room for thread, then back for the iron.
Map your crafts by frequency: the daily craft gets the prime zone (best light, biggest work surface, closest to the door), the weekly craft gets the secondary zone, and the occasional craft gets compact storage — everything for it in one labeled bin or cart that rolls out when needed. This is the same zone logic that makes home command centers work: group by activity, not by object type.
If you're a multi-craft dabbler, be honest about which crafts are current versus aspirational. The knitting you haven't touched in two years doesn't earn a permanent zone — it earns a single well-organized bin. Zones are for active creativity.
2. Pegboards: the craft room's hardest-working wall
Pegboards are the single best storage investment for a craft room. They turn dead wall space into visible, grabbable, infinitely rearrangeable storage for tools: scissors, rulers, washi tape rolls on dowels, ribbon spools, paintbrushes in cups, heat guns, rotary cutters. Everything visible, everything one grab away.
Install them right: mount on 1x2 furring strips so there's an air gap behind the board for hook insertion, use two boards side by side for a real workstation wall, and paint the pegboard before hanging — white for brightness, or a fun color to make the wall a feature. Standard 1/4-inch pegboard with 1-inch hole spacing accepts the widest range of hooks and accessories.
The real power is rearrangement: when you switch from quilting season to holiday card-making season, the pegboard reconfigures in minutes. No other storage adapts to changing projects this fast. Outline tool shapes on the board with a marker (the workshop "shadow board" trick) so everything has a visible home and missing tools are obvious. Our floating shelf ideas pair well with pegboards for the items that don't hang.
3. Clear drawer units with real labels
For the thousands of small-to-medium supplies — buttons, beads, embroidery floss, stickers, ink pads, fabric fat quarters — clear stackable drawer units are unbeatable. Clear matters: you can see contents without opening, which means you actually find things and actually put them back. Opaque drawers become mystery boxes within a month.
But clear alone isn't enough — label every drawer. Use a label maker or neat handwritten labels on the drawer front: "BLUE FABRIC SCRAPS," "SIZE 8 SEED BEADS," "CHRISTMAS STAMPS." Specific beats general: "ribbon" is useless when you have forty ribbons; "WIRED RIBBON — FALL" tells you exactly what's inside. When a drawer gets too full to close easily, that's your signal to purge, not to buy a bigger unit.
Standardize on one drawer system so units stack cleanly and look intentional. The ubiquitous 3-drawer rolling carts are the workhorse — one per craft zone, labeled, mobile. They're also the backbone of kids' room organization for the same reason: visibility plus mobility.
4. Tame small parts: beads, buttons, sequins, findings
Small parts are the craft room's glitter problem — thousands of tiny items that defeat normal storage. The system: small, clear, stackable containers with locking lids, sorted by a logic you'll actually remember. For beads: by color family, then by size within each. For buttons: by color, with a separate "special" box for vintage and statement buttons. For findings (clasps, jump rings, ear wires): by type, in containers with adjustable dividers.
Buy containers with truly secure lids — a dropped open container of mixed seed beads is a craft room trauma. Screw-top jars work for larger quantities; small hinged-lid boxes work for project quantities. Keep a "sorting tray" (any shallow tray with a lip) permanently on your work table for active projects — it contains the current mess to one defined area.
Label lids AND sides — you'll stack these, and side labels let you read the stack. And keep a tiny dedicated trash bin at every workstation for thread snips, paper scraps, and backing paper. Micro-trash is what makes craft rooms feel chaotic; catching it at the source keeps the room calm.
5. Paper storage: vertical, sorted, and protected
Paper crafters accumulate paper the way gardeners accumulate seeds — constantly and joyfully. Store paper vertically, not stacked flat: vertical filing (in magazine holders, file boxes, or purpose-built paper racks) lets you flip through and see everything, while flat stacks hide the bottom 90% and get crushed. Sort by a system that matches your brain: by color, by pattern type, or by collection — pick one and commit.
Protect the investment: keep paper away from direct sunlight (fading is real and fast), and store specialty papers (watercolor, heavy cardstock) flat in shallow drawers if vertical filing warps them. The 12x12 scrapbook paper standard means many storage products are sized exactly for it — measure your stash before buying organizers.
Purge paper ruthlessly once a year. The "too pretty to use" paper you've hoarded for three years? Use it or release it. Paper you won't cut is just expensive clutter. A good rule: if you bought it for a specific project that never happened, it goes in the donate box for a school or community center. Someone will create with it.
6. Fabric storage: fold, file, and see it all
Fabric stash organization follows one golden rule: file, don't stack. Fold fabric pieces around a uniform core (comic boards, cardboard cut to size, or purpose-made fabric organizers) and file them vertically in cubes or drawers like books on a shelf. You can see every print at a glance, pull one without toppling a pile, and the uniform folds look genuinely beautiful — a well-filed fabric wall is decor in itself.
Sort by color for visual sewing (quilting, garment sewing where color-matching matters) or by project for planned makes. Keep a separate, clearly marked "scraps" system: one bin for usable scraps sorted roughly by color, and a firm rule that scraps smaller than your hand go to stuffing/pet-bed donation rather than storage. Unchecked scraps multiply like rabbits.
Store fabric away from sunlight and in breathable conditions — sealed plastic is fine for most quilting cotton, but natural fibers prefer air circulation. Cedar blocks in fabric storage deter moths without the chemical smell of mothballs. And measure your stash honestly once a year: fabric bought faster than it's sewn becomes a storage problem, not a creative resource.
7. The work table: big, clear, and at the right height
Your work table is the craft room's engine, and most crafters undersize it. For sewing and quilting, you want at least 4 feet of clear width; for paper crafting, 3 feet suffices; for multi-craft, bigger is always better. A hollow-core door on two filing cabinets is the classic budget giant — cheap, sturdy, and the cabinets add storage. Folding tables work for occasional crafters but wobble under machines.
Height matters more than people realize: standard 30-inch table height suits seated detailed work, but cutting fabric and standing crafts want 36-inch counter height to save your back. If you do both, a height-adjustable table (manual crank versions are affordable) is worth every penny — or dedicate a separate cutting station at counter height.
Keep the table surface clear as a religion. The table is for active work, not storage — supplies live in their zones and come to the table only during use. A clear table is the difference between "I could start a project right now" and "I'd have to clear space first, so never mind." End every session with a 5-minute table reset.
8. Mobile carts: the craft room's secret weapon
Rolling carts — the 3-tier utility carts everyone owns — are perfect craft room citizens. Dedicate one per active project or per craft: a "current quilt" cart holding fabric, pattern, tools, and notions rolls to the machine when you sew and tucks into a closet when you don't. A "gift wrap" cart becomes a mobile gift wrapping station during the holidays.
Carts solve the shared-space problem brilliantly: if your craft room is also the guest room, office, or dining room, carts let the craft setup appear and disappear in minutes. Everything for one activity lives on one cart — no hunting, no setup friction. Label the cart's tiers so the system survives: top tier tools, middle tier materials, bottom tier works-in-progress.
The cart also enforces scope: one cart per project means one active project per cart. When you want to start something new, you finish or properly pack away the current cart first. It's a gentle, physical version of project discipline.
9. Light it like you mean it: task lighting everywhere
Craft work is detail work, and bad lighting causes eye strain, color mistakes (that "navy" thread that's actually black), and abandoned evening sessions. Overhead room lighting is never enough — you need task lighting at every workstation: an adjustable-arm lamp at the sewing machine, a bright lamp at the cutting table, good light at the desk.
Daylight-temperature bulbs (5000K) show true colors for fabric and thread matching; warm bulbs (2700K) are fine for general room ambiance but lie about color. If you do color-critical work, a daylight lamp is non-negotiable — it's the difference between a quilt that coordinates and one that clashes.
Position lights to eliminate shadows from your hands: for right-handed crafters, light from the left, and vice versa. Under-shelf LED strips are excellent for illuminating work surfaces without cluttering them. And if your craft room has a window, orient your primary workstation to face it — free, perfect, full-spectrum light for as many hours as the sun cooperates.
10. Works-in-progress: the WIP system that actually works
Unfinished projects are where craft rooms go to die. The WIP (work-in-progress) system: every active project lives in its own container — a project bag, box, or cart tier — holding the pattern/instructions, all materials, and the current state of the work. One project, one container, everything together. When you pick it up, there's zero hunting; when you put it down, it doesn't sprawl.
Limit active WIPs ruthlessly: three is the practical maximum for most crafters. More than that and nothing finishes — you just rotate guilt. New project ideas go on a list (a real written list), not into new containers. The list is infinite and free; physical WIPs cost space and mental energy.
For long-term WIPs (the quilt that's been "in progress" for two years), do an honest annual review: will you finish it in the next six months? If yes, it keeps its container. If no, frog it (unravel/reclaim materials), donate the kit, or gift it to someone who'll finish it. A WIP you're avoiding isn't a project — it's clutter with feelings.
11. Vertical ribbon, wrapping, and roll storage
Ribbon spools, wrapping paper rolls, vinyl rolls, and fabric bolts are the awkward long-and-round supplies that defeat normal shelving. Solutions: dowels mounted horizontally (on a pegboard, inside a cabinet door, or on wall brackets) let ribbon spools spin and dispense without unspooling everywhere. A tall narrow bin or purpose-built vertical organizer corrals wrapping paper rolls — store them upright, never horizontal, or they warp.
For vinyl and iron-on rolls (Cricut/Silhouette crafters), a vertical file-style organizer with dividers keeps rolls separated and visible. Sort by color or material type. Keep the machines themselves on a dedicated station with the computer/tablet nearby — vinyl crafting is a workflow (design, cut, weed, apply) and the station should support all four steps within a few feet.
Measure your longest roll before buying storage — wrapping paper is typically 30 inches, and many "roll organizers" are built for 24. This is a small detail that causes real frustration when discovered after purchase.
12. The purge protocol: keep the stash honest
Craft supplies accumulate faster than they're used — it's the nature of the hobby. Without a purge protocol, storage needs grow forever. The annual craft purge: empty one zone at a time, sort into keep / donate / trash, and be honest about the "someday" supplies. Dried-out paint, gummed-up glue, fabric you hate, tools for abandoned crafts — they all go.
Donation destinations that actually want craft supplies: schools and teachers (especially art teachers), community centers, senior centers, children's hospitals, and local buy-nothing groups. Usable supplies find grateful homes fast — which makes purging feel good instead of wasteful.
Institute a one-in-one-out rule for stash categories that tend to explode: new fabric in means old fabric out (donate the equivalent yardage), new yarn in means finishing or donating old skeins. This isn't about restriction — it's about keeping the stash at a size your storage can actually handle. A stash that fits its storage is a joy; a stash that overflows it is a burden. The same honest assessment powers our declutter room by room guide.
13. Kid-friendly crafting zones (without the chaos)
If kids craft in your space, give them a defined zone with defined rules rather than letting kid-craft sprawl across your good supplies. A low table or a section of the main table, a rolling cart with kid supplies (washable markers, safety scissors, glue sticks, construction paper), and a washable mat underneath. Their supplies stay separate from yours — this protects both your expensive materials and their creative freedom.
Storage for kid projects: a flat portfolio or large envelope per child for finished art (purged seasonally — photograph favorites before recycling), and one WIP box each. Teach the cleanup routine as part of crafting: supplies return to the cart, scraps go in the bin, table gets wiped. Kids rise to systems when the systems are simple.
For households where craft space is shared with play space, our kids' room organization and toy storage guides extend the same zone logic. The principle is universal: defined space, defined containers, defined cleanup.
14. Make it beautiful: a craft room you'll actually use
Function gets the craft room working; beauty keeps you coming back. You don't need a magazine makeover — just a few intentional touches: a cohesive color for storage containers (all white, all natural wood, all one accent color), a piece of your own finished work displayed on the wall, a comfortable chair you actually like sitting in, and good lighting (covered above, but it bears repeating — light is beauty in a workroom).
Display, don't hide, your prettiest supplies: fabric bolts on an open shelf, thread in a rainbow arrangement, finished projects on a "gallery" wall. These are decor that also happens to be inventory. A craft room that shows its materials is inspiring in a way a beige storage room never is.
Finally, protect the vibe with boundaries: the craft room door closes on mess mid-project without guilt (that's what the WIP system is for), but shared-household craft supplies don't migrate to the living room. A beautiful, functional craft room earns its square footage by being used — so use it. Schedule the time. The organized room is waiting.
Frequently asked questions
How do I organize a small craft room?
Zone by craft type, go vertical with pegboards and wall storage, use mobile carts so setups can appear and disappear, and limit active projects to three. In a small room, every supply needs a labeled home and the work table must stay clear — clutter on the table kills small craft rooms faster than anything.
What's the best way to store fabric?
Fold fabric around uniform boards and file vertically like books so you can see every print. Sort by color or by project, keep scraps in one defined bin with a size rule (smaller than your hand gets donated), and store away from direct sunlight. Standardized folding makes even a large stash look tidy and intentional.
How do I store small craft supplies like beads and buttons?
Small, clear, stackable containers with locking lids, sorted by color then size (beads, buttons) or by type (findings). Label lids and sides, keep a sorting tray on your work table for active projects, and never use containers with loose lids — one spill of mixed seed beads will convince you forever.
How do I keep my craft room from getting messy again?
Three habits: the 5-minute table reset after every session, one-project-one-container WIP discipline, and a tiny trash bin at every workstation for micro-trash. Plus an annual purge of dried-out, unused, and "someday" supplies. Mess returns when projects sprawl — containers are the boundary.
What lighting is best for a craft room?
Daylight-temperature task lighting (5000K) at every workstation for true color matching, plus warm general room lighting for ambiance. Adjustable-arm lamps at machines, under-shelf LED strips for work surfaces, and window-facing orientation for your primary station. Bad lighting causes eye strain and color mistakes — it's a tool, not decor.
How do I organize craft supplies on a budget?
Start with what you have: shoeboxes as drawer dividers, jars for small parts, a hollow-core door on filing cabinets for a giant work table. Add pegboards (cheap, transformative), standardize on one affordable drawer system, and buy storage incrementally per zone. The most expensive organizer is the one you buy before knowing what you need to store.
Keep going
A craft room is a creativity engine — keep the rest of the house supporting it. Build a mobile gift wrapping station for the holidays, extend the zone system with our home command center ideas, and when the stash needs honest assessment, our declutter room by room guide helps.
Get the Sunday reset: one practical home idea in your inbox every week — subscribe free here. No spam, ever.
Pin title ideas
- Craft Room Organization Ideas for Creative Spaces
- Small Craft Room Storage: Pegboards, Carts & Zones
- How to Organize Fabric, Beads & Paper Supplies
- 14 Craft Room Ideas You'll Actually Maintain
- Craft Room on a Budget: Start With What You Have